Fill & Stroke
Fill & Stroke
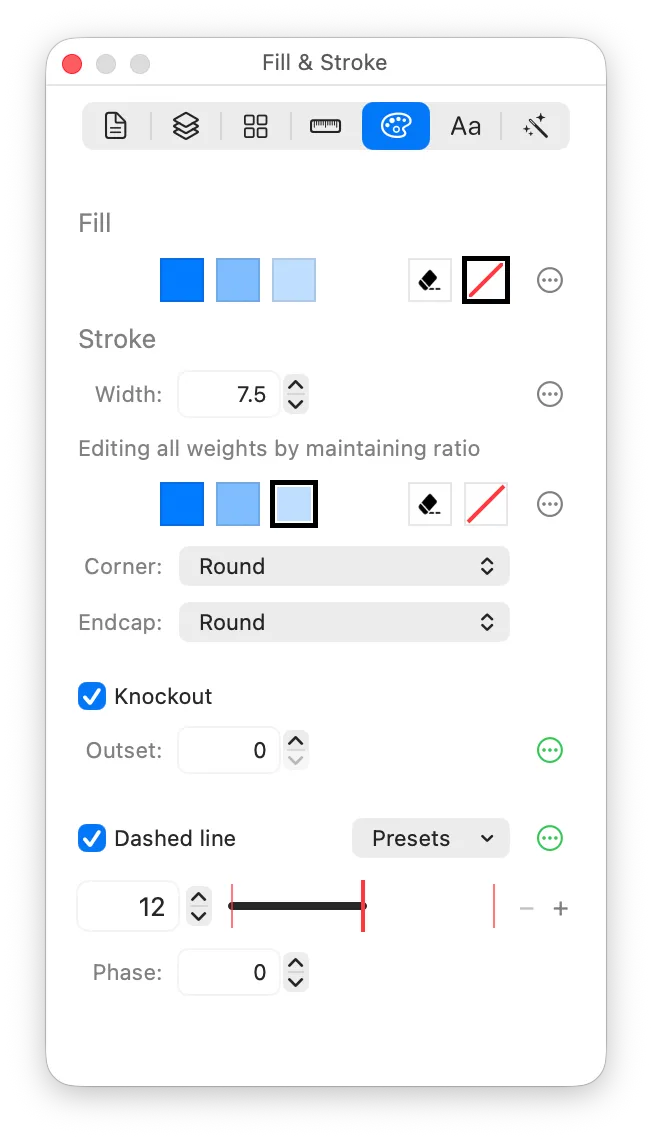
Fill
The fill colour of the selected object. There are colour chips for each colour supported by the current colour mode, plus “Erase” and “None”.
- None means the current object has no fill.
- Erase means the current object will erase the content behind it. If the object is on a layer with “Composites as one unit” turned on, the Erase object will erase content on that layer; otherwise, it will erase anything behind it, revealing the canvas.
The colours available:
- In Monochrome mode, there is a single fill colour.
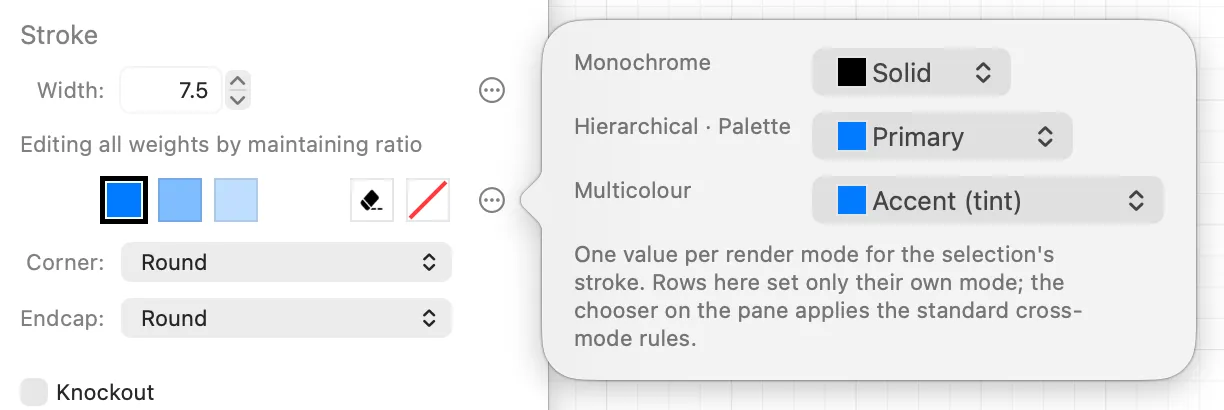
- In Hierarchical, there are three colours: primary, secondary, and tertiary. These are different shades of one tint colour.
- Palette also has three colours, also known as primary, secondary, and tertiary, but this time they’re completely separate colours. (When using the symbol in your app, you can supply each palette colour separately if you desire.)
- Multicolor has a choice between the accent colour, or a dropdown menu with all the Apple system colours, plus as “Custom” option for picking any colour from a colour picker.
Note that Hierarchical and Palette actually share a colour value (i.e. you can’t have Primary on one and Secondary on the other!). This is an Apple restriction.
When changing your colour to or from Erase or None, this applies across all colour modes. If you want to separately configure your object’s colour per mode, use the divergence button to the right of the colour chips:
Stroke width
The width of the stroke, in points.
Stroke width is the most common way of producing the different symbol weights. As such, the default stroke widths are shown here:
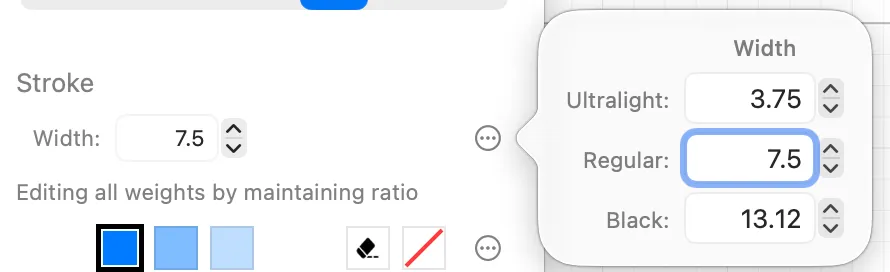
Unless you’ve unlinked the geometry for your selected object, then changing the stroke width in the inspector will change it for all weights, keeping the same ratio. You can edit it per weight using the divergence button to show the popover, or by unlinking the geometry for your object using the floating button on the canvas.
Stroke Colour
Stroke colours follow the same logic as fill colours. Again, if you don’t want your object to have a stroke, choose None for the stroke colour.
Corner
The style for line corners: Round, Miter, or Bevel.
Note that Corner: Round is describing how to draw the lines that form the stroke. It’s not the same as your shape itself having rounded corners (which can be found on the Size/Metrics inspector).
Endcap
The style for line ends: Round, Square, or Butt.