McKinley Workflow
McKinley Workflow
This is the McKinley main window:
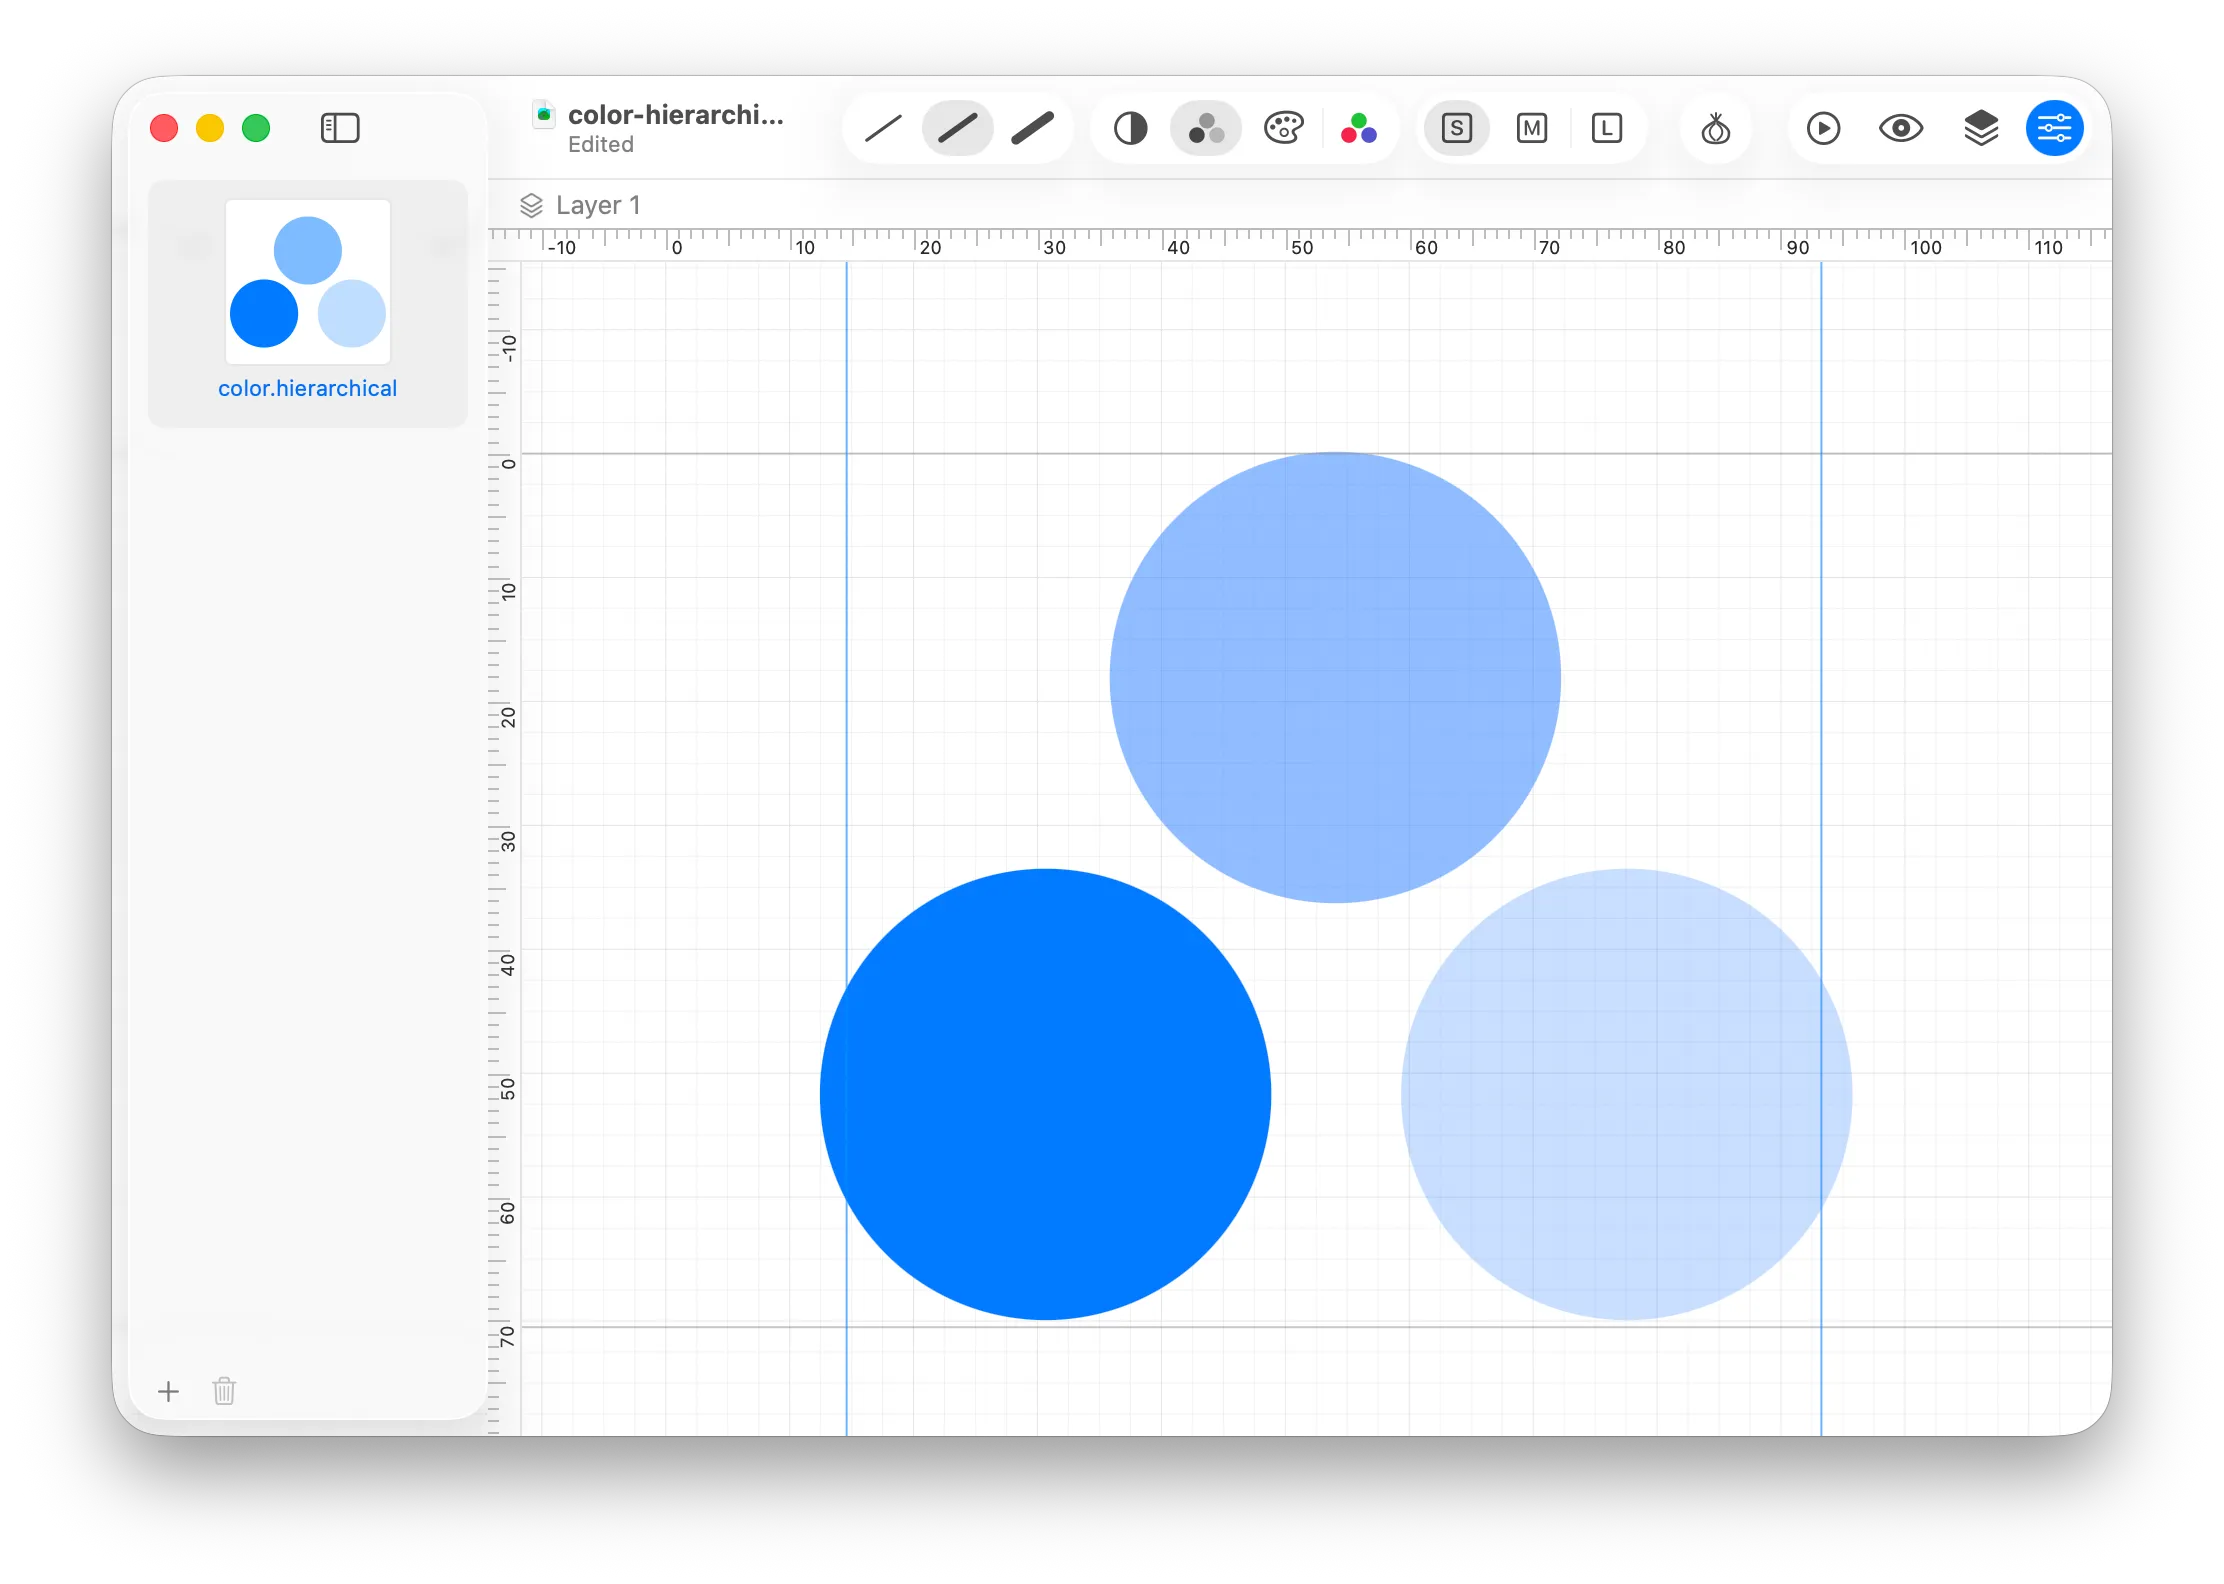
On the left is the Symbol Variants sidebar.
The main content of the window is called the Canvas. It has guides showing the bounding box of your symbol. The left and right guides can be edited by dragging.
Most of the toolbar is taken up with controls to switch between the different modes for editing your symbol:

- Weight (ultralight, regular, black)
- Mode (monochrome, hierarchical, palette, multicolor)
- Size (small, medium, large)
Use these controls to switch what the canvas is currently showing.
Vector Graphics
McKinley is a vector graphics editor at heart, albeit one that caters to the nuance of SF Symbols creation. Familiarise yourself with the tool palette, usually found to the left of the active window:
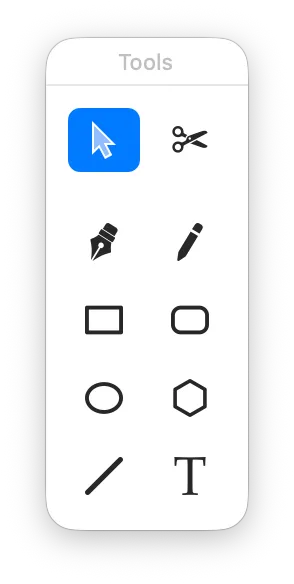
Here you can see the following tools:
- Select: select and move objects around
- Cut: break a path into two
- Pen: draw Bézier paths
- Pencil: draw freehand squiggles
- Rectangle
- Rounded Rectangle
- Ellipse
- Regular Polygon
- Star
- Line
- Wave
- Text
For more on editing what you draw, see Editing Paths.
Things that are different across weights
McKinley helps you make symbols with variable weights.
When you draw a line, or something with a stroke, then by default the line width will vary for each weight. If you look in the Inspector on the Stroke tab, you’ll see a value for line width, which shows the width for the current mode the canvas is in. But, if you click the little button to the right of the field, you can see all of the weights separately:
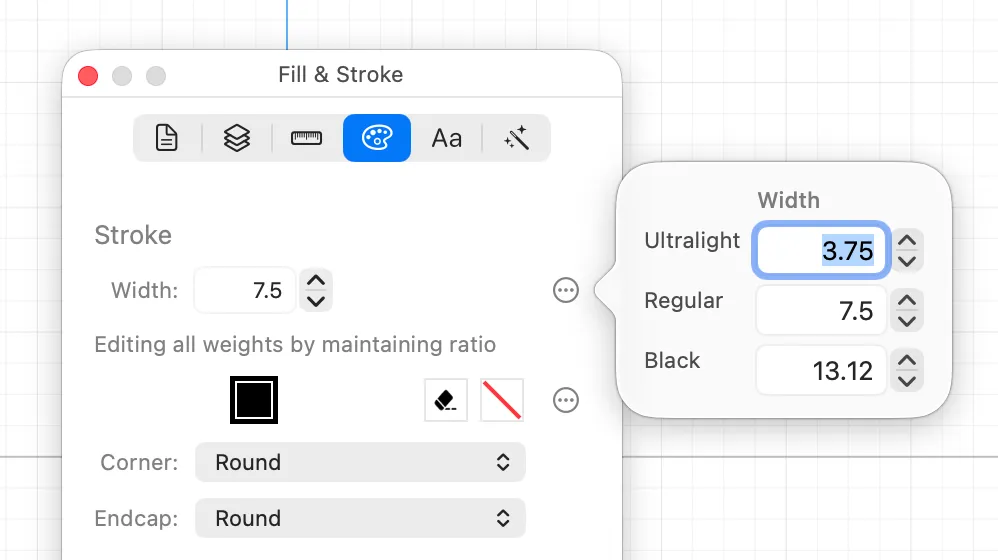
Many items in the inspector have these buttons, showing explicitly the per-weight (or per-colour-mode, as appropriate) variation of the property.
McKinley documents have three weights, and the SF Symbols renderer can use those three weights to interpolate various in-between weights (resulting in nine possible weights in total).
Linked edits
Next to your selected object on the canvas is a control for switching between linked edits (that affect all weights), or editing just this weight.
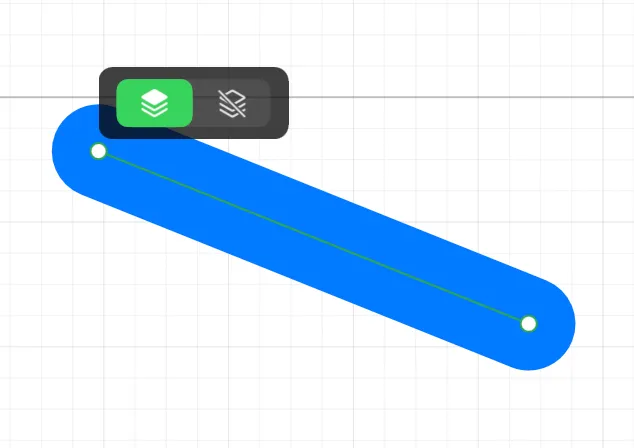
For example, if you wanted to change how this line’s width varied across weights, rather than using our default ratio adjustment, you could do it one of two ways:
- Use the button in the inspector to show the width popover, letting you edit each weight’s line width numerically
- Use the floating control to turn linked edits off for this object. Then, making a change to the line width in the inspector will affect only the active weight.
When linked edits are turned off, you can also edit the geometry of a shape and it will only apply to the current weight. So you could move or rotate your line, or you could move each individual point on a path, just on a single weight.
Turning linked edits on again just applies to future edits, it doesn’t reset any properties you have previously edited.
Onion Skin
If you’re going to make geometry edits across weights, you might want a better way to see how things are diverging. You can turn on Onion Skin from a button on your toolbar.
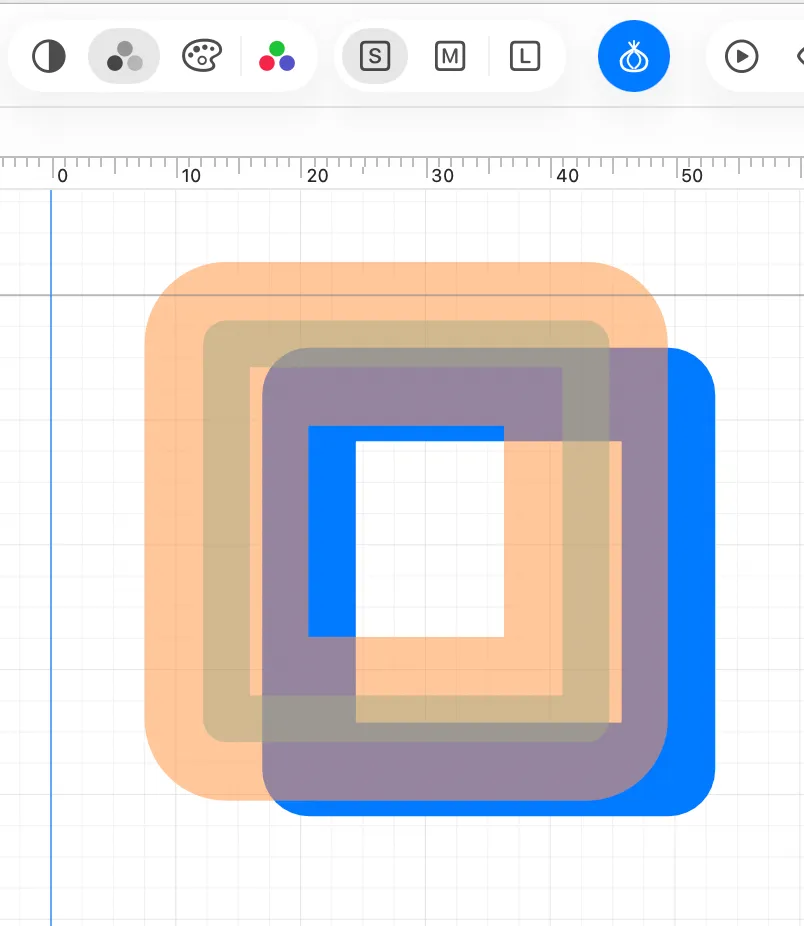
There’s also a menu option to control whether onion skin appears for every object or just the selected object.
Preview
McKinley has been extensively developed and tested to make sure that the contents of its canvas accurately represent how the resulting SF Symbol will look. However, in order to be absolutely sure, it’s important to look at your symbol as rendered through Apple’s renderer.
The Preview panel shows you previews that are rendered as genuine SF Symbols, so you can be confident that if it works here, it’ll work in your app.
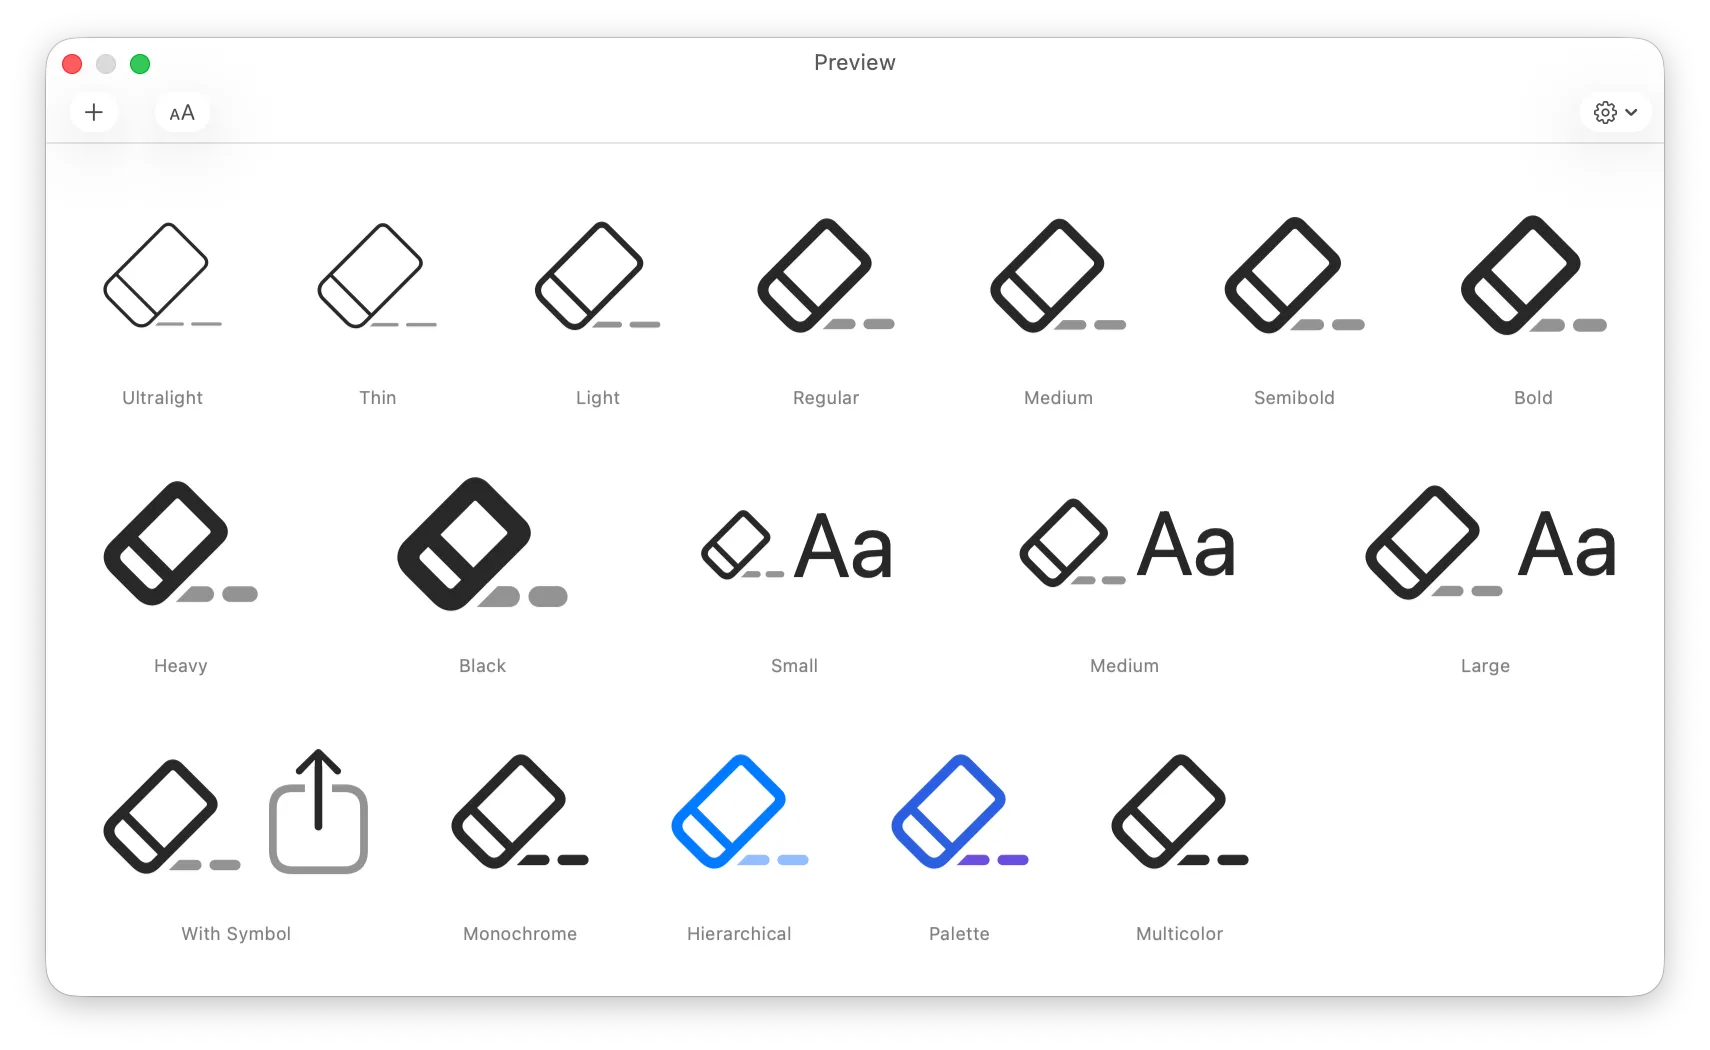
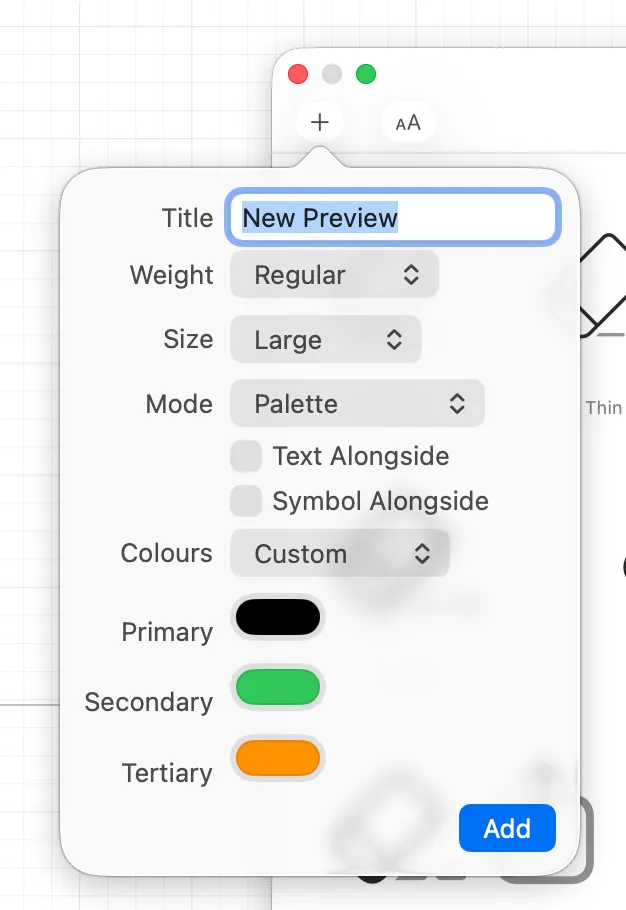
Furthermore, you can customise the cells in the Preview panel to have precisely the properties that you desire:
Export
You can export your symbol as an SF Symbol format SVG file (the file format that Apple’s SF Symbols app spits out) by choosing File -> Export -> SF Symbol… (⌘E)
You could then drag this straight onto an Xcode asset catalog. However, if you plan on iterating your symbol, there’s an even easier way:
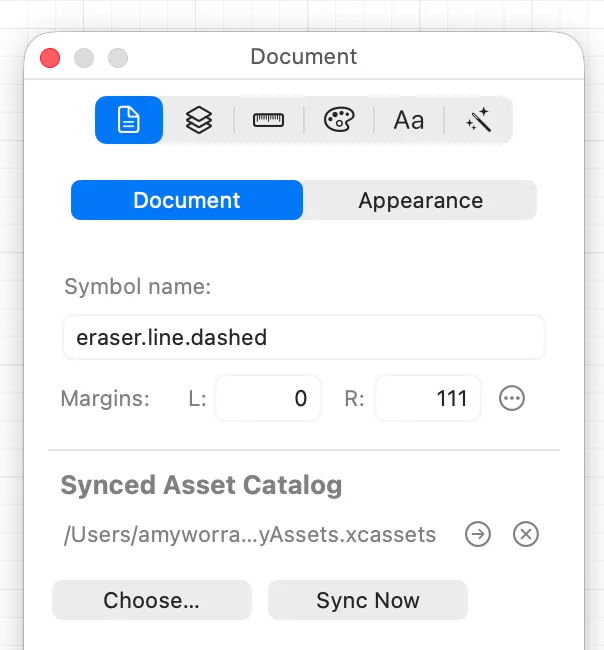
In the Document inspector, you can set up a Synced Asset Catalog. Once you have chosen this, you can select Sync Now (or choose Sync to Asset Catalog (⌥⌘S) from the File menu) at any time and the latest changes will be sent over.
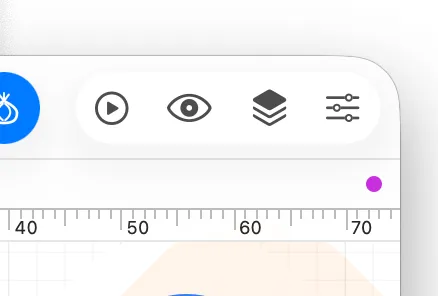
McKinley even shows you when you have unsynced changes, via a little purple dot in the top right of the window:
Colours
We’ve talked about weights, but what about colours?
When selecting a fill or stroke colour in the inspector, McKinley shows the appropriate colours for the current view mode. For instance, in hierarchical mode:
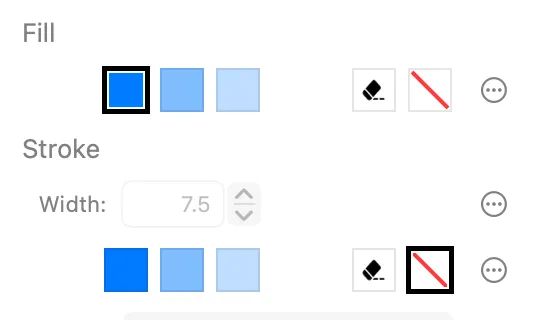
… you can see a choice of three hierarchical colours, plus “Erase” and “None”.
Normally, if you choose a colour, McKinley makes an educated guess of the colour for the other modes: thus, if you choose Erase it’ll set Erase everywhere; if you choose Secondary, then it’ll apply “Solid” in monochrome mode.
As usual, you can use the icon to the right of the relevant field if you want fine control over the colour for each different mode.
Knockout
It is common in Apple’s design language for symbols to have overlapping lines, with a ‘moat’ of background colour around the frontmost object to separate it from the one behind. Usually you would have to draw the moat yourself, and assign it an Erase colour. But McKinley can do this common task for you, using Knockout:
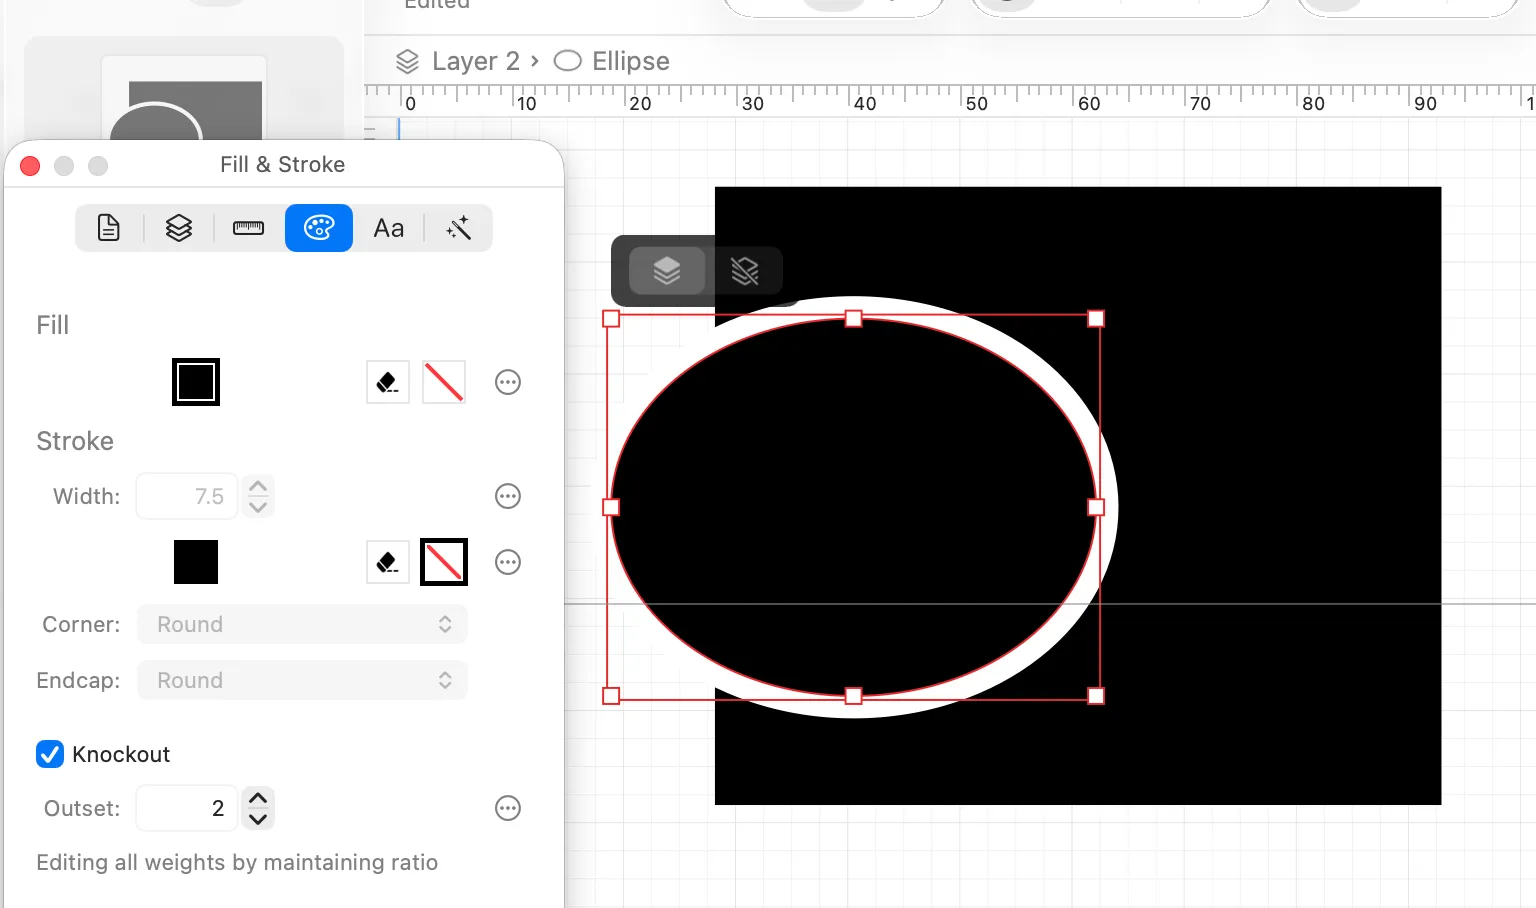
Select an object and apply Knockout, and that object will gain a moat around it which erases things behind. This knockout will move with the object, and can have a different size for different symbol weights.
Layers
In the SF Symbols app, you are probably used to grouping things into layers in order to apply colours or other properties. But as you’ve seen above, in McKinley, objects have their own colours and properties.
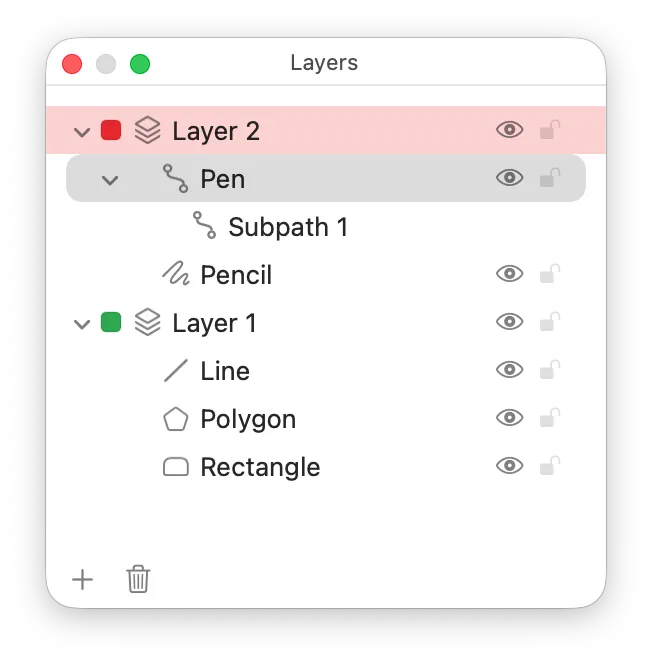
Layers in McKinley are used for your own organisation. They don’t correspond to layers in SF Symbols, they’re for you to use in order to work with a complex document.
(There are also a few special kinds of layers which are used as part of making multiple variants, but aside from those, the layers are just for organisation!)
You can of course hide or lock layers in the Layers palette:
Importing existing symbols
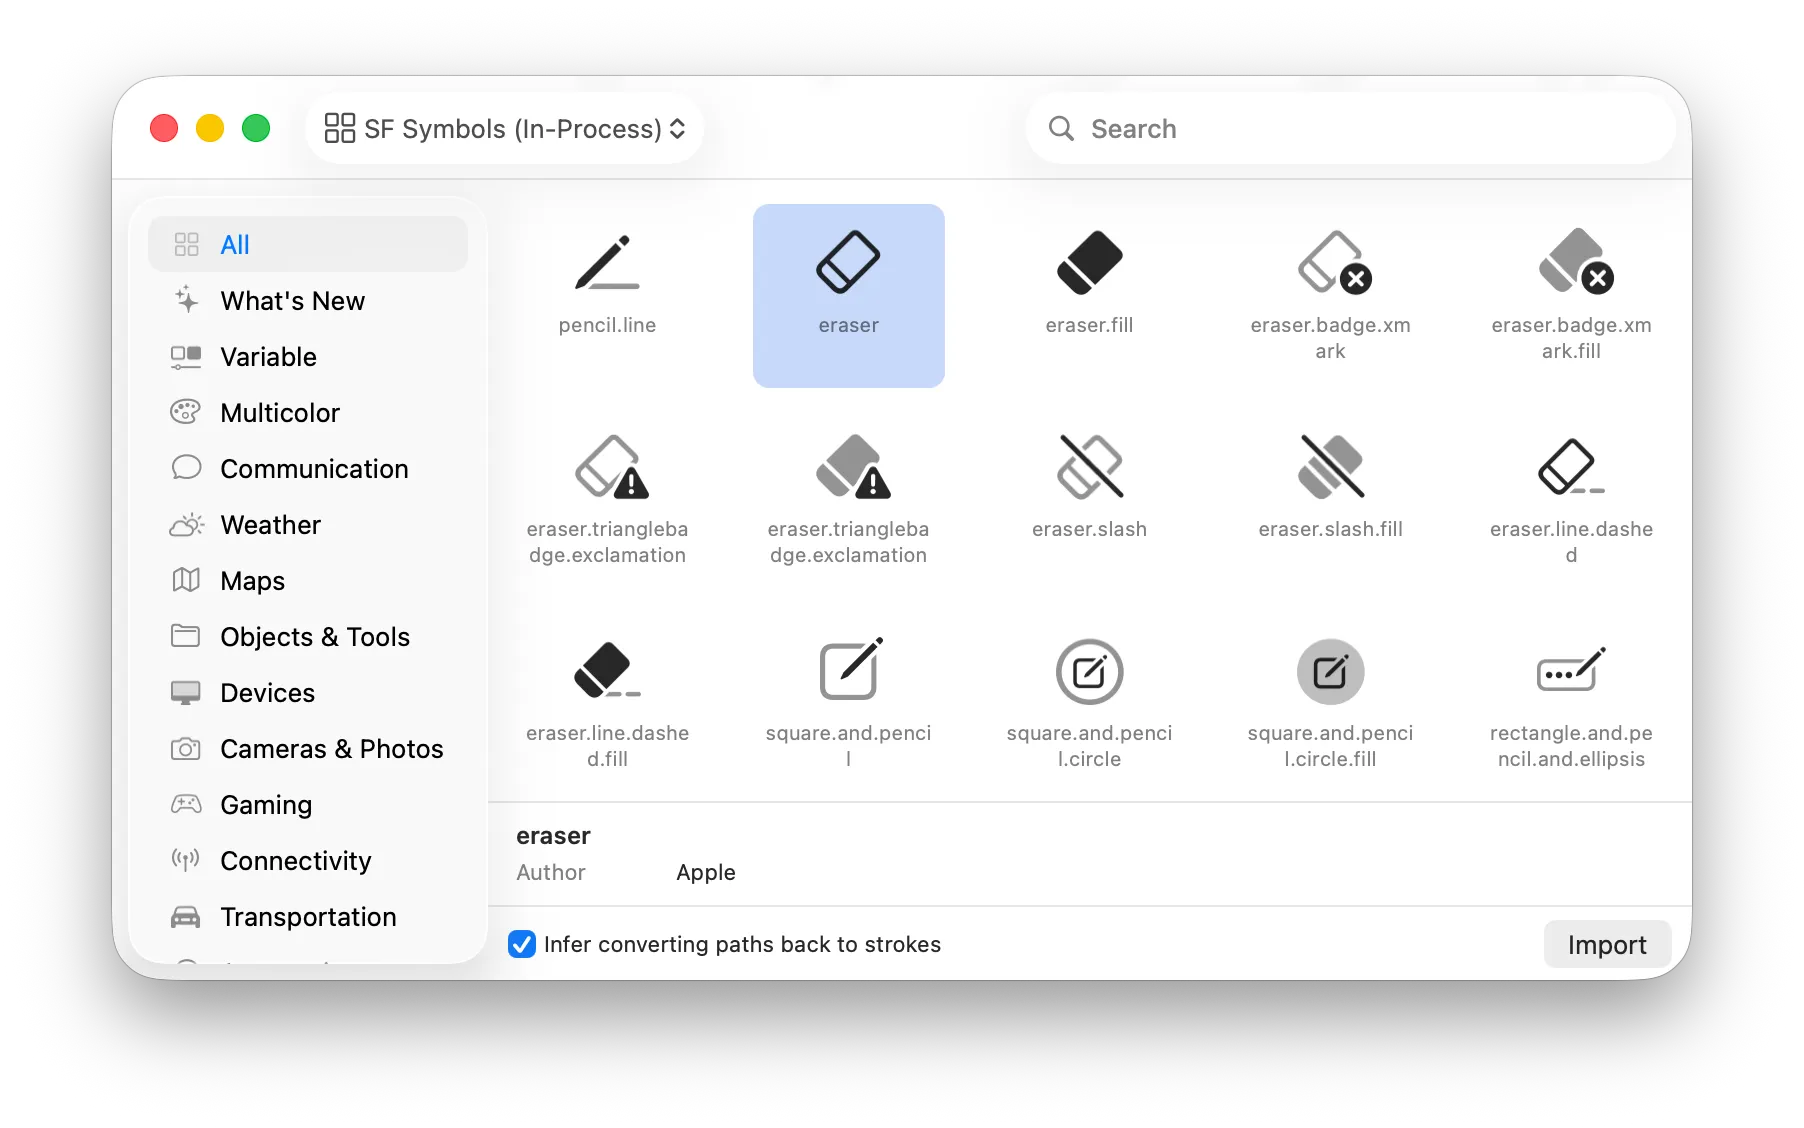
You can import existing SF Symbols either from files (the same special SVG format used by the SF Symbols app), or from the symbol browser (where you can search and browse all SF Symbols).
Additionally you can import plain old non-SF-Symbol SVG files if you have existing vector art. And the symbol browser also lets you browse some other existing icon libraries, such as Material Symbols or Phosphor.
Animation Preview
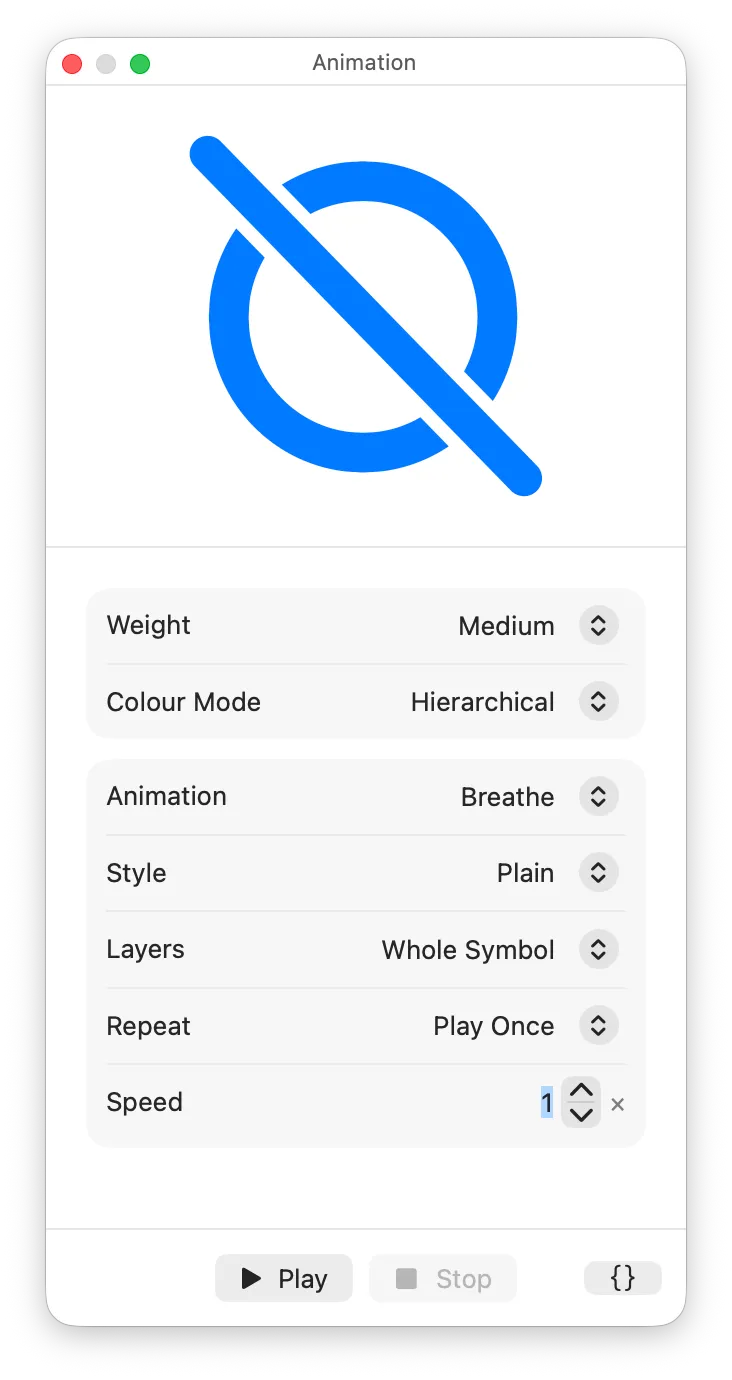
As well as the Preview palette for static images, the Animation Preview palette lets you preview animations. You can set up all the configurable options, and see your animation previewed by Apple’s renderer.
This even works for Magic Replace animations between variants of your symbol, so you can preview a slash or badge appearing.
Variants
It is common to want to make modifications to your symbol such as putting a slash through them, adding a badge with a symbol, or making a filled variant.
Like Apple’s SF Symbols app, McKinley comes with some predefined badges and enclosures, accessed by choosing Badge… or Enclosure… from the plus button on the sidebar. Variants show up in the sidebar, and each one shares its base name with your main symbol, followed by a suffix of your choice.
When you load the symbols into your app, variants are treated just like separate symbols. But if you do a Magic Replace transition between two variants, they will intelligently animate between.
For more info, see the Variants page.