Working with Multiple Weights
Working with Multiple Weights
One of the best features of SF Symbols is the ability to use a symbol at different weights, to fit in with the text or UI you’re placing it next to.
This is also one of the hardest features to work with when building custom symbols. Or it was, until McKinley.
SF Symbols’ requirements
A minimal custom SF Symbol has three weights: ultralight, regular, and black. SF Symbols’ renderer interpolates the interim weights between these, to provide a full set of nine weights over three sizes:
- ultralight, thin, light, regular, medium, semibold, bold, heavy, black
In order to perform this interpolation, the SF Symbols format has some onerous restrictions:
A template is interpolatable when:
- It contains the interpolation sources
Ultralight-S,Regular-S, andBlack-S.- The three interpolation sources are path-based.
- The three interpolation sources contain the same number of paths and the same number of control points.
From Creating custom symbol images for your app
It is also possible to supply all 27 weight/size combinations to SF Symbols, in order to obviate the need to meet the interpolation restrictions. However, that’s a lot of work!
These restrictions are McKinley’s reason for existing. In McKinley, the separate symbol weights are not three separate sets of vectors: they refer to the same objects, and each object’s position, points, properties etc can optionally vary between weights.
McKinley can either export the three interpolatable weights, or interpolate all 27 weights/sizes; you control this in Settings. If you choose to export all 27, McKinley does its own interpolation. McKinley’s interpolation algorithm for medium/large sizes is more predictable than Apple’s, but the choice is yours which to use.
McKinley’s assumptions
- McKinley saves your work in
.mckfiles. These files can be exported to SF Symbols format. This allows the.mckfile to contain extra metadata allowing editing across symbol weights. The.mckfile should be considered the source of truth for your symbol. - McKinley always edits three symbol weights. Even when exporting all 27 weight/size combinations, McKinley creates the others from the three weights you’ve edited. While it is technically possible to create SF Symbols files where all nine weights are edited individually, the complexity benefit tradeoff for supporting this was not worth it. Any symbol output by McKinley will be interpolated in order to get the other weights.
- SF Symbols can be displayed in three sizes (relative to the text they’re next to): small, medium and large. McKinley always derives these sizes automatically; you cannot make per-size changes in McKinley. This is again for simplicity, and to make it easier to create symbols.
Weights in the Canvas

This control in a McKinley window’s toolbar lets you switch between viewing/editing ultralight, regular, and black.

Additionally, this button turns on Onion Skin, allowing you to see the other weights of your symbol as an overlay on your canvas.
Creating objects
When you draw an object, be it a line, shape, path, text box etc, that object will be present on all weights of your symbol.
It may already have some per-weight differences: for objects with strokes, by default the stroke width varies across symbol weights.
Moving and editing objects
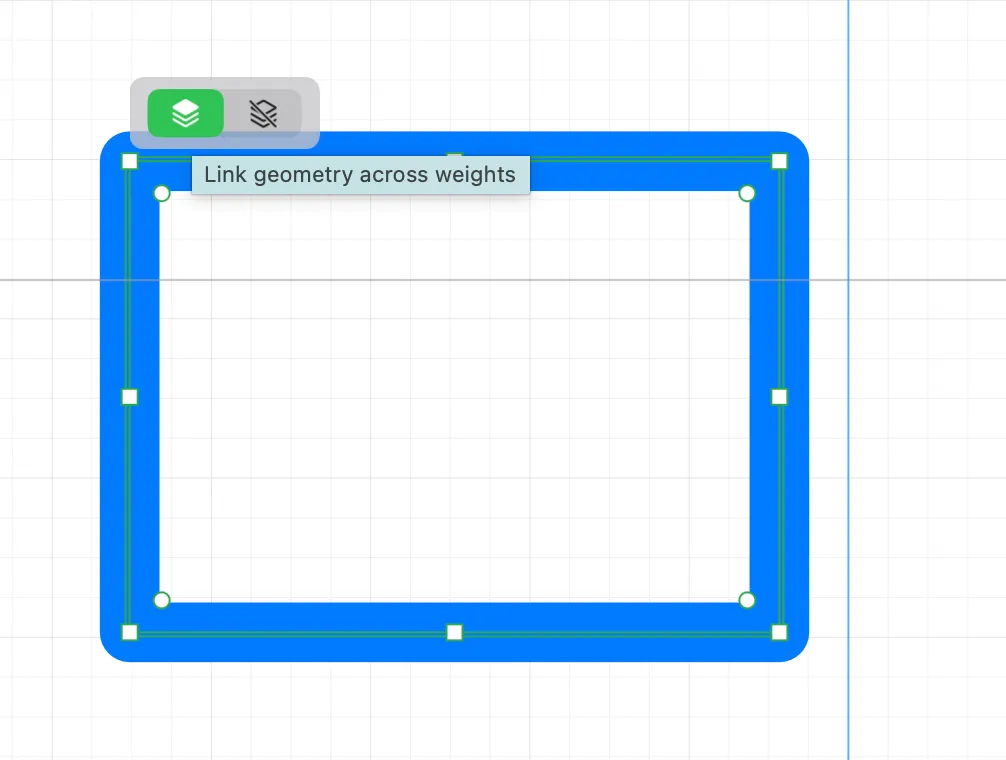
When an object is selected, the Link Geometry control appears, letting you control whether edits will apply to all weights or just to the current weight.
When it’s set to Link Geometry, dragging your shape will move it on all weights. When it’s set to “Edit Only This Weight”, a drag will only affect the current canvas weight.
Note that the Link Geometry control affects the edits you make. If you’ve already diverged your shape by moving or sizing it differently on one of the weights, turning the control back to Link Geometry will not re-unite your shape. It just means that future edits will apply to all weights at once.
Resetting divergence
If you want to bring the geometry of your shape back to being the same in each weight, choose “Reset Position Across Weights” from the Arrange menu:
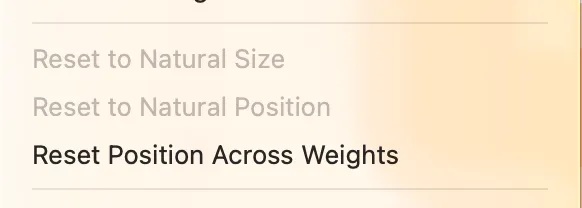
Note that this affects the geometry of the shape: its size, position, rotation, skew. It does not affect the styling (such as line width, or other non-geometry properties that can diverge).
Using the Inspector
Many properties in the inspector can diverge per weight.
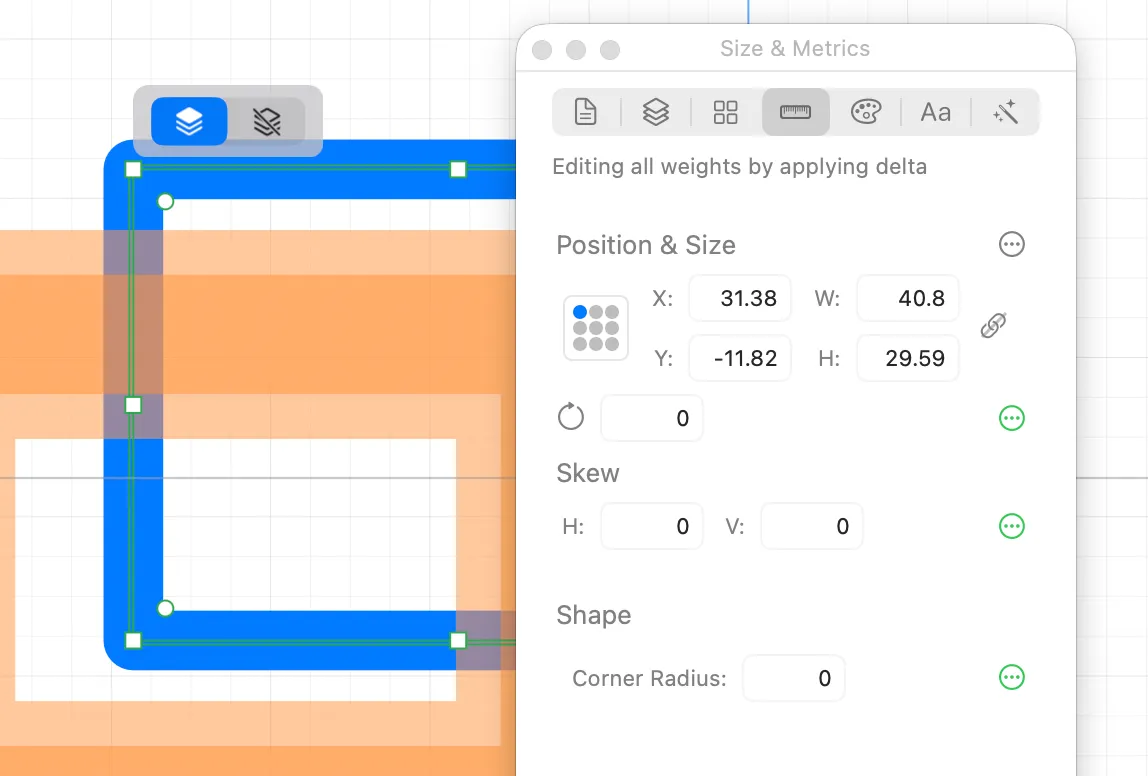
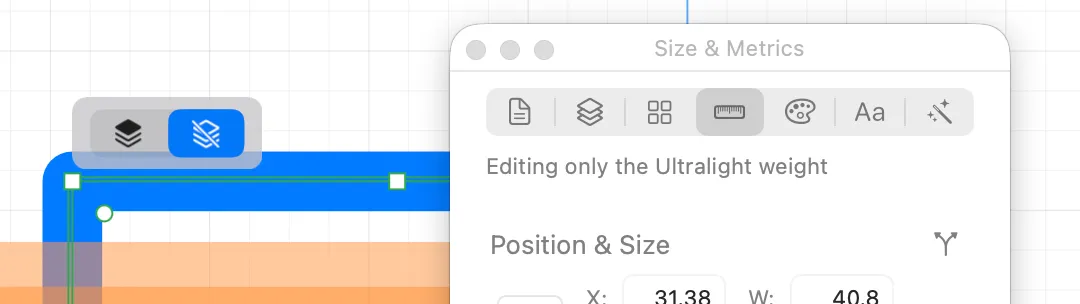
The inspector helps you understand what your edits will do at any time. You can see at the top of this inspector pane that it says “Editing all weights by applying delta”. This inspector pane is following the linked geometry control. If the control was turned to Edit Only This Weight, the inspector would look like this:
Field Divergence Buttons
To the right of various inspector fields, you’ll see buttons looking like one of these:
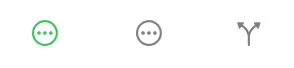
- If the icon is a circle with dots, this means that your edits to the relevant field(s) will affect all weights.
- If the icon is a pair of diverging arrows, that means your edits will affect only this weight. There should also be some helpful text in the inspector clarifying this.
Additionally, when you’re editing all weights, the colour of the icon will tell you:
- If the icon is a green circle with dots, it means the field currently has an identical value across weights.
- If the icon is a grey circle with dots, it means that the field is currently diverged (i.e. has a different value across weights). In this case, editing the field will still apply your changes to all weights, but they’ll either apply as a ratio or a delta as appropriate.
Summoning a per-weight popover
If you click a field divergence button, you’ll get a popover with the precise values per weight:
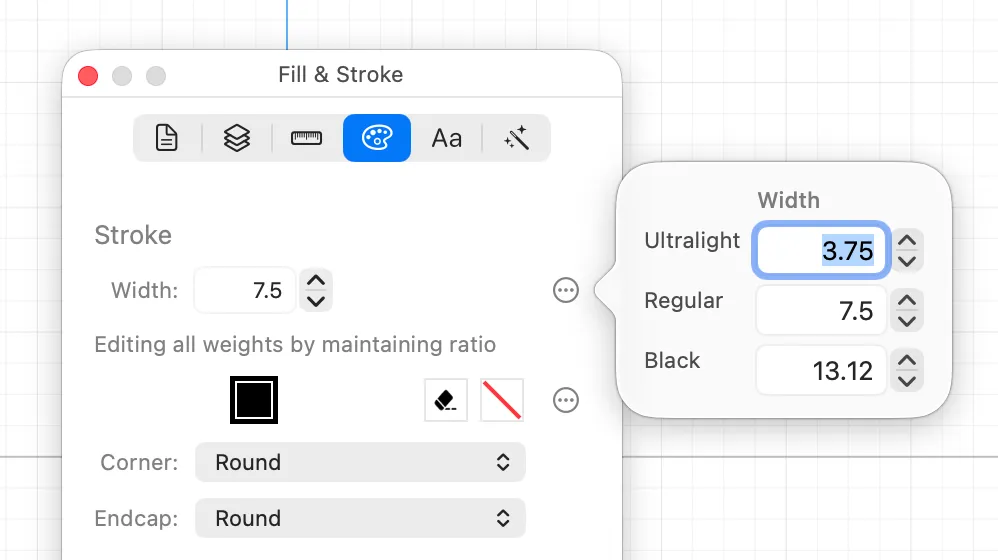
Edits made in the popover apply solely to the relevant symbol weight, and you can see exactly how things are diverging.
Defaults
By default, line widths diverge between weights. This is most often what you want — most symbols use line width to vary between weights!
Additionally, if you use knockout, the default outset is zero. But if you apply a knockout outset greater than zero, it will also diverge by default.
If you don’t want this divergence, use the per-weight popover for the relevant field to set all the weights to the same value.
The default divergence for line width and knockout is ratio based: McKinley uses a fixed ratio that visually matches most SF Symbols. Of course, if you change the per-weight values of any of these fields manually, McKinley will maintain the new ratio that you have set.
Using the Preview Palette
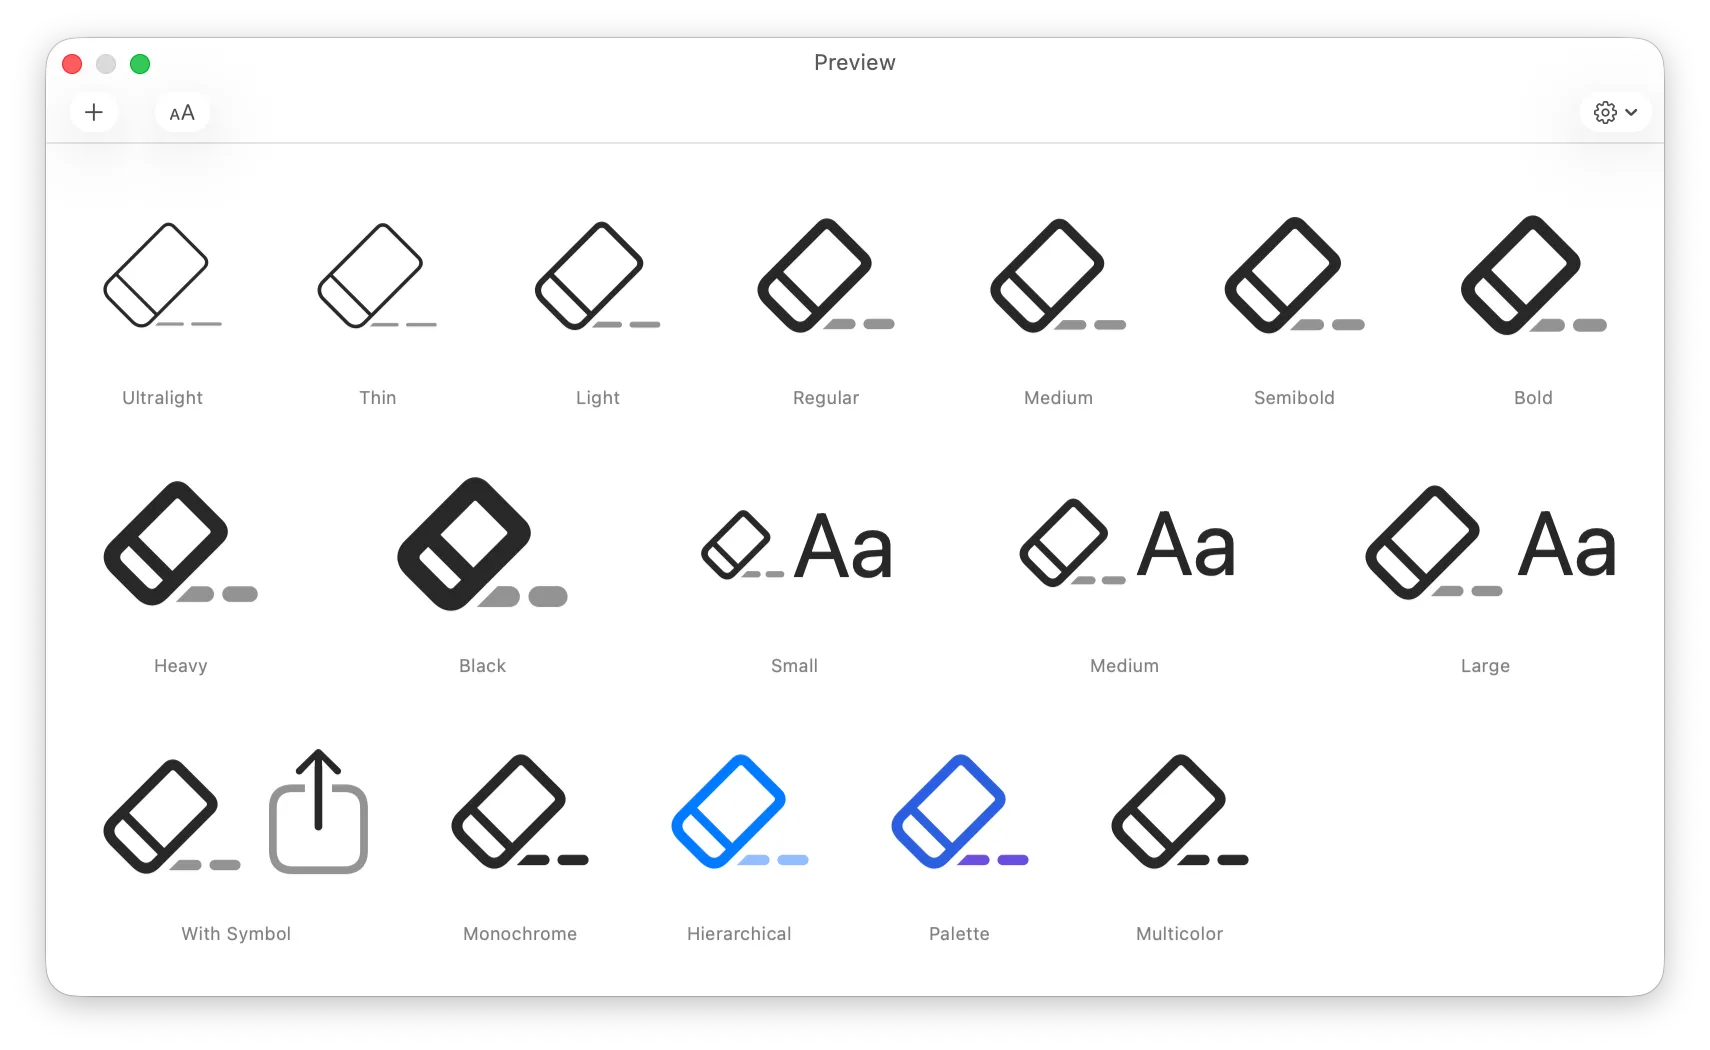
The Preview Palette shows a set of symbol previews. You can configure it to show whichever combination of symbol settings you like. The default set (above) shows every single weight, including the interpolated weights as well as the three you edit directly.
The symbols in the Preview Palette are drawn directly via SwiftUI and SF Symbols. Therefore, they are the most accurate way of seeing what your symbol will look like in your app. While we work hard to make McKinley’s canvas render accurately, it’s reassuring to be able to look at a view of your symbol that cannot diverge from how Apple renders it!
The Preview Palette will update whenever you make a change to your symbol, or when you switch documents or variants.