Editing Paths
Editing Paths
You can of course edit paths after creating them. Here’s how.
Entering the path’s Editing Scope
Like any object on McKinley’s canvas, to edit inside a path you double click on it (with the Select tool active). This is the same way you edit inside a group, but inside a path you’ll find subpaths and nodes, rather than other objects.
When you are inside an Editing Scope, there is a gold border around your path, and the Scope Bar at the top of the canvas tells you where you are.
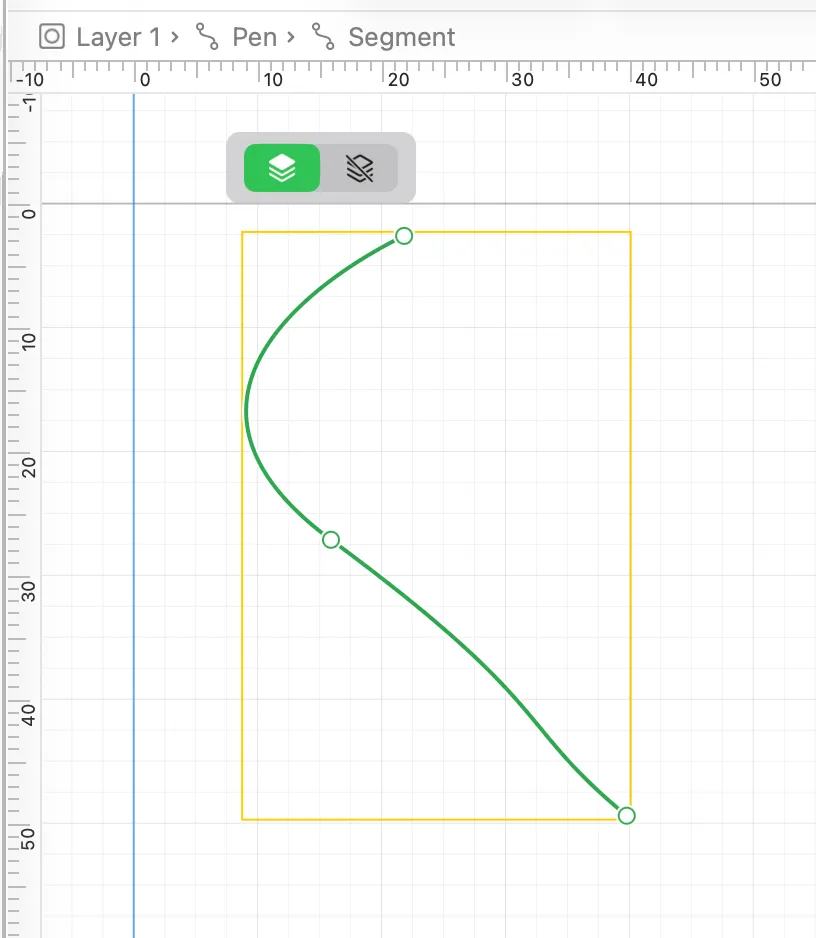
To leave the editing scope, do one of the following:
- press Escape
- click on the canvas outside the path
- click on a parent item in the Scope Bar.
Manipulating points
Drag a point to move it.
Shift-drag to move the point constrained to a 45 degree angle.
Control-drag to ignore snapping (e.g. to guides or objects) when moving the point.
Use the arrow keys to move a selected point by a small distance.
Click a point to reveal its Bézier handles. While the point is selected, the handles are visible. A selected point draws as a filled circle.
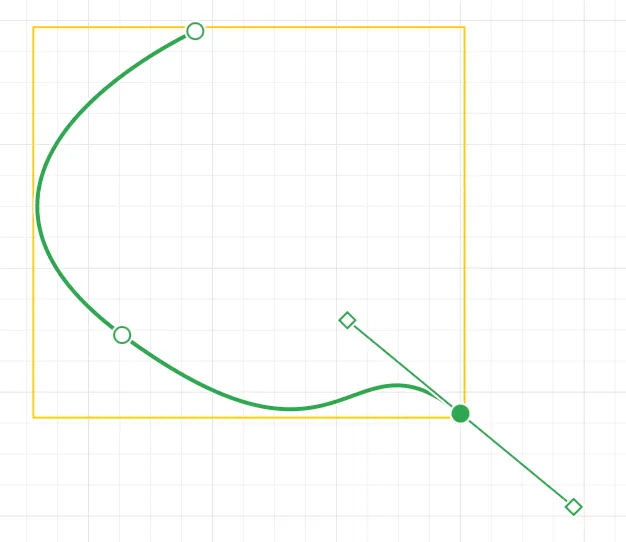
Shift-click to select multiple points. When multiple points are selected, they can be dragged as a group.
Press backspace to delete a selected point.
Use the Align palette or menu items to align or distribute multiple selected points.
Working with Bézier Handles
Drag a symmetric handle to move both handles, maintaining symmetry.
Option drag a handle to break the symmetry and move only this handle.
Drag a handle whose symmetry is already broken to move only this handle.
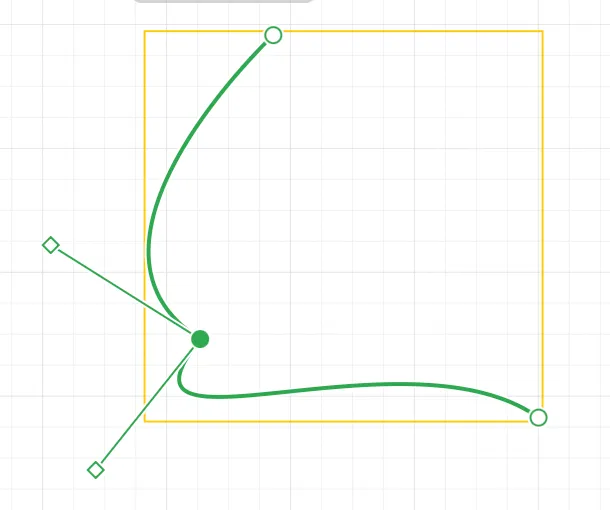
Option click a handle, or drag the handle back onto its point, to remove that handle.
Double click a point to toggle between a corner point and a smooth point, i.e. remove both handles, or create a new pair of symmetric handles. There is also a menu item, Path -> Toggle Smooth/Corner Point, which does this to a selected point.
Option drag a point to pull out a fresh symmetric handle pair (replacing existing handles on that point if applicable).
Adding points
Option click on the path’s line to add a new point. A placeholder appears while hovering, to show you where the new point will go.
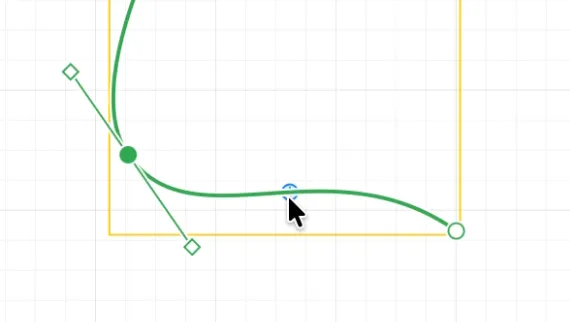
As mentioned above, deleting points requires selecting the point and pressing backspace.
Simplifying Paths
Simplifying a path reduces the number of nodes that are used to make up the path.
Choose Path -> Simplify…
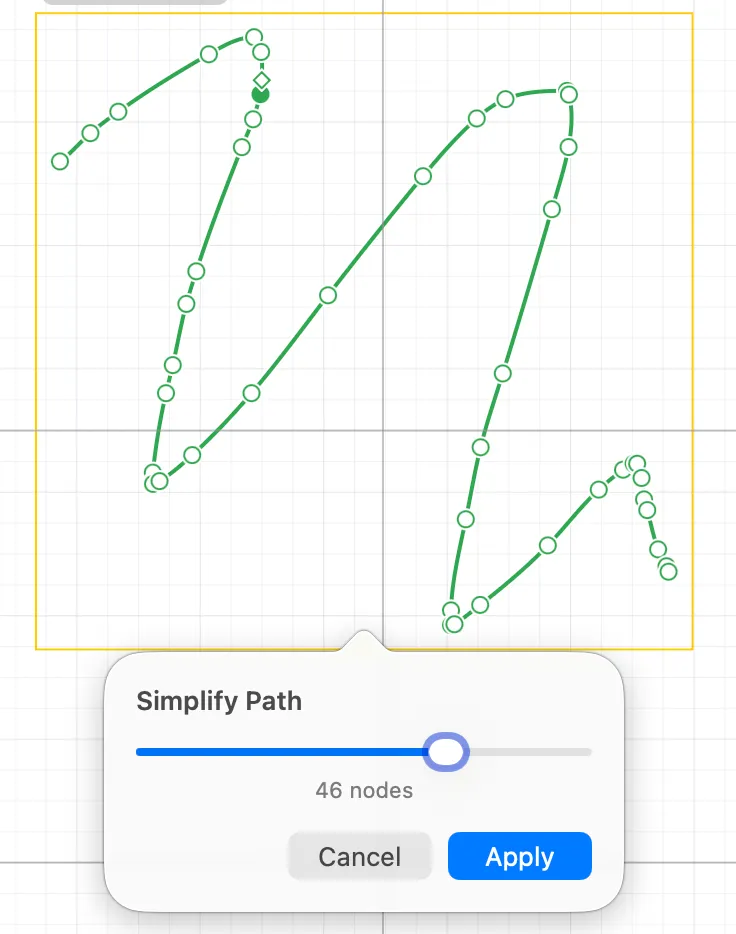
A popover appears with a slider. Drag the slider to choose how much simplification you want to apply. Applying too much simplification may change the shape of the path.
Working with Subpaths
A Path can contain multiple subpaths. A subpath is one continuous run of a path: a single chain of connected points that’s either open (has two ends) or closed (forms a loop).
A common reason to have multiple subpaths within a path is to make a hole in a filled shape. A subpath that’s inside another subpath counts as a hole when applying a fill to the path.
It is also possible to make multiple subpaths inside a single path in order to keep related geometry together in one unit, for organisational purposes.
Selecting Subpaths
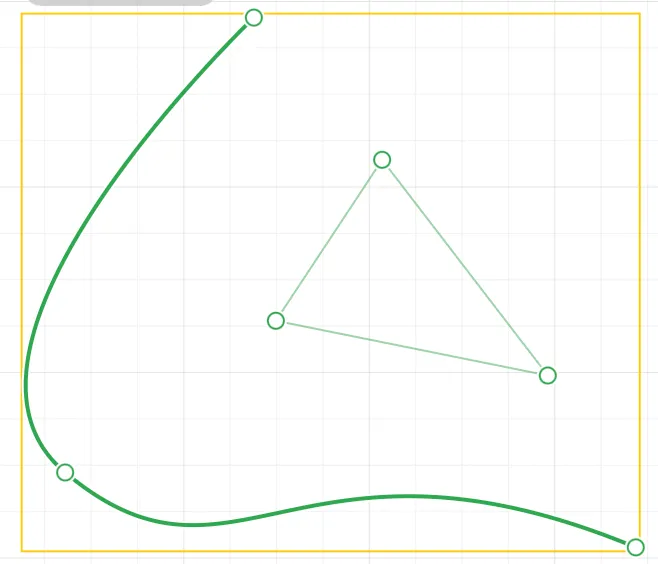
When editing a path that has subpaths, click on the line of a subpath to select it. The selected subpath displays a heavier line to indicate that it is selected.
Drag the line of a subpath to move it around.
Press backspace to delete a selected subpath.
Drawing subpaths
While inside the editing scope of your path, if you activate the pen tool and click like you would normally start drawing a path, you will begin drawing a new subpath.
If instead, you activate the pen tool then click on an endpoint of an existing subpath, you will extend that subpath.
Subpaths can be joined together by connecting their endpoints with the pen tool, just like paths can.
Combining or breaking apart paths
You can combine multiple paths, making them subpaths of one single path, by using the Path -> Combine Paths (⌘8) menu item. Select both of your paths, then choose the menu item. To do this, you must not be inside the editing scope of a path.
Choosing Path -> Break Apart Paths (⇧⌘8) does the opposite: turns each subpath of the selected path into a separate path.
To take just some subpaths out of a path, select them while editing the path and choose Path -> Break Out Subpath (also in the right-click menu, and on a subpath’s row in the Layers palette). The selected subpaths leave together as one new path, placed directly in front of the original, with the same fill and stroke. If a path has per-weight geometry, each weight’s copy of the subpath travels with it.
Moving subpaths in the Layers palette
The Layers palette lists each path’s subpaths beneath it (click the disclosure triangle to open a path). Subpath rows can be dragged:
- Between the rows of another path (or onto the path’s row) to move the subpath into that path. It keeps its position on the canvas and takes on that path’s fill and stroke.
- Within its own path to change the drawing order of the subpaths.
- Into a layer or group to break it out as a new path there.
Dragging a whole path’s row onto another path merges it in as subpaths. Unlike Combine Paths, this keeps any per-weight geometry the paths have.
Corner Rounding
As well as smooth Bézier curves or angular corners, a path point can also be a rounded corner.
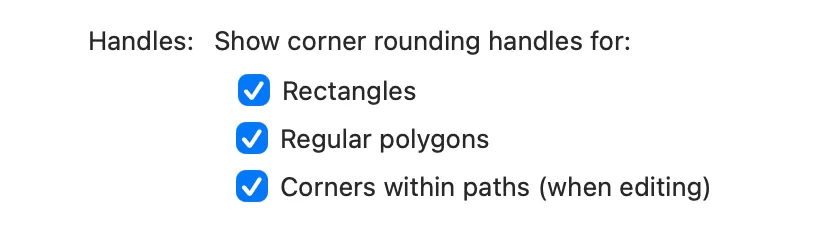
To use this functionality, you must have rounded corner handles for corners within paths turned on in Settings -> General (⌘,).
When you select a point that is a corner, you’ll see a corner rounding handle appear just inside that point.
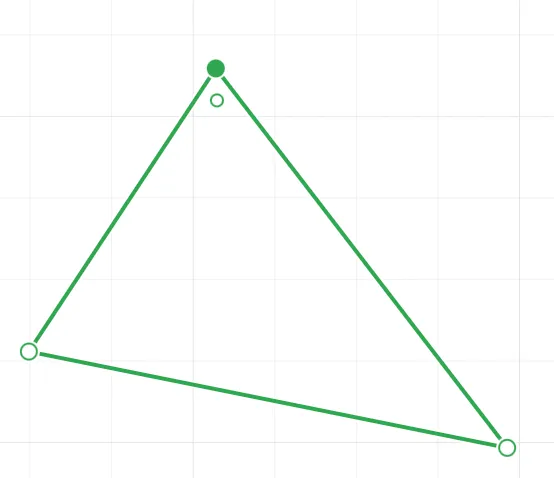
Drag it to set the corner radius:
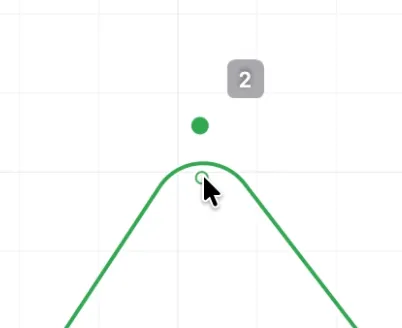
The number in the grey box shows the current radius in points.
You can also double click the corner rounding handle to enter a radius numerically.